 I had an epiphany this week worth sharing with any or all procrastinators out there – need something to motivate you to start that project that’s still on your list and has been for some time? Here it is – publicize your list and commit yourself to a weekly blog. Sound too extreme, a little wacky? Well, I can personally attest it has worked for me!
It was Thursday and I hadn’t settled on my weekly blog post topic. The week had been especially busy getting ready for three weddings coming up this month – ironing napkins, packing dinner plates, polishing silver – and I kinda lost track of time. I had to get going on something that day – especially if it was a project that might take a little time.
As I was mentally running through my long list of restoration projects, I experienced the epiphany – if I didn’t have this weekly self-imposed commitment, I wouldn’t be worrying about getting a project done in the next two days. Whoa. My blog is more than a way to share our adventures, new inventory, and events – it’s my push, my inspiration, and maybe more importantly, my reason to get things done.
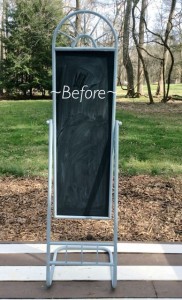
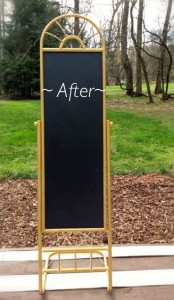
So, it was time to tackle our final goal set at the start of the new year – restoring, distressing, and repurposing some of our vintage finds. I am pleased to reveal our first restoration and here’s the before and after. Not only does it have a new paint job, it’s structurally improved as well!
_____________________________________________________________
_____________________________________________________________
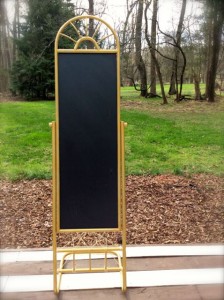
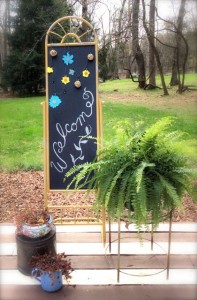
Two years ago I found this metal mirror frame at a local thrift store. I covered the black metal with blue chalk paint, distressed it, and inserted a blackboard piece. It looked pretty good but the blackboard kept slipping out and it was so lightweight, it easily toppled over. So, I wanted to add a little heft, re-paint it, and glue the blackboard to the frame. It was time to check this one off!
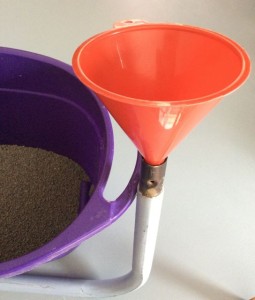
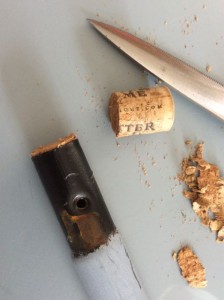
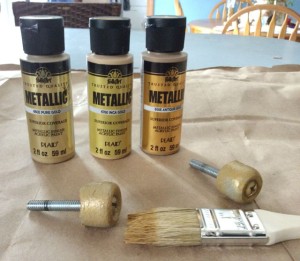
To add the weight, I unscrewed the base and added kitty liter to the base using a funnel. Yep, clay kitty litter. I didn’t have any sand and didn’t want to go buy some so I used what I had. To keep the kitty litter from spilling out, I cut a wine cork – one of my favorite fix-it solutions – and stuffed it in both ends. I screwed the frame back together and painted it using three shades of gold, first painting with the antique gold color and then adding the lighter two here and there. After a light sanding in key places to the reveal a little black, I added a light coat of gold.
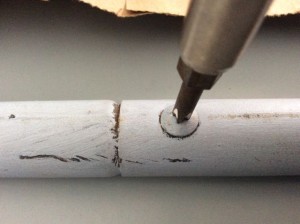
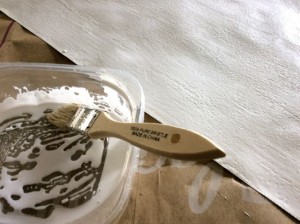
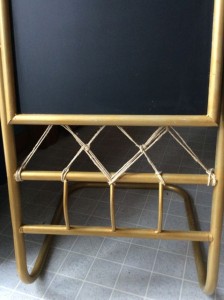
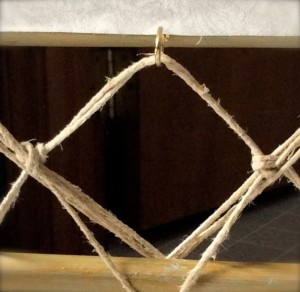
Before gluing the blackboard and to dress it up, I glued a strip of wall paper to the back of the blackboard piece. Some time ago, I picked up a few rolls of left over wall paper at a thrift store. It was a terrific purchase because not only did I use it in this project, I have used it several other times as well. My final step was to prevent the backboard frame from swaying. My solution was to add a few hooks to the back and create a twine design, connecting the two pieces of the frame.
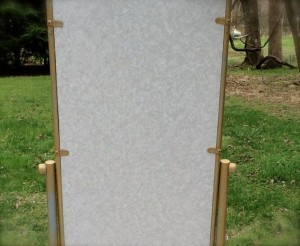
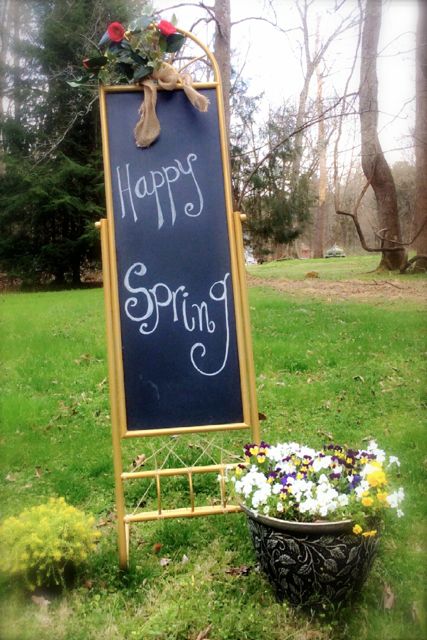
So, one restoration project finished as well as our weekly blog posted. Done and done. Already thinking about what project to tackle next ’cause next week comes up pretty quickly! Here are two ways you might use this restored, and steadier, gold blackboard stand now in our inventory at Southern Vintage Table!

_____________________________________________________________
![]()